Have you ever dreamed of living in a cozy Hobbit Hole, nestled within the lush hills of the Shire? Well, you’re in luck! In this guide, we’ll show you how to bring your fantasy to life by building your very own Hobbit Hole in the virtual world of Minecraft. Whether you’re a seasoned builder or new to the game, follow these simple steps to create a charming underground haven that Bilbo Baggins himself would envy.
Gathering Your Resources: What You’ll Need
Before you start digging into the earth like a true Hobbit, you’ll need to gather some essential resources. Don’t worry; you won’t need to embark on an epic quest to find them. Here’s what you’ll need:
Resources Needed:
- Wood: Gather enough wood to craft the exterior and interior elements of your Hobbit Hole;
- Stone: Mine for stone to create the walls and foundation of your underground abode;
- Glass: Smelt sand to make glass for your windows and let the sunlight flood in;
- Decorative Blocks: Collect various decorative blocks like flowers, plants, and carpets to add that cozy Hobbit touch.
Digging In: Building Your Hobbit Hole
- Step 1: Choosing the Perfect Location
Just like in real estate, location is key when it comes to your Hobbit Hole. Find a picturesque hillside with a gentle slope, and clear out the space for your future home.
- Step 2: Laying the Foundation
Start by crafting stone blocks and creating the foundation of your Hobbit Hole. Use your creativity to shape the entrance and windows, giving your hole that iconic round door and circular windows.
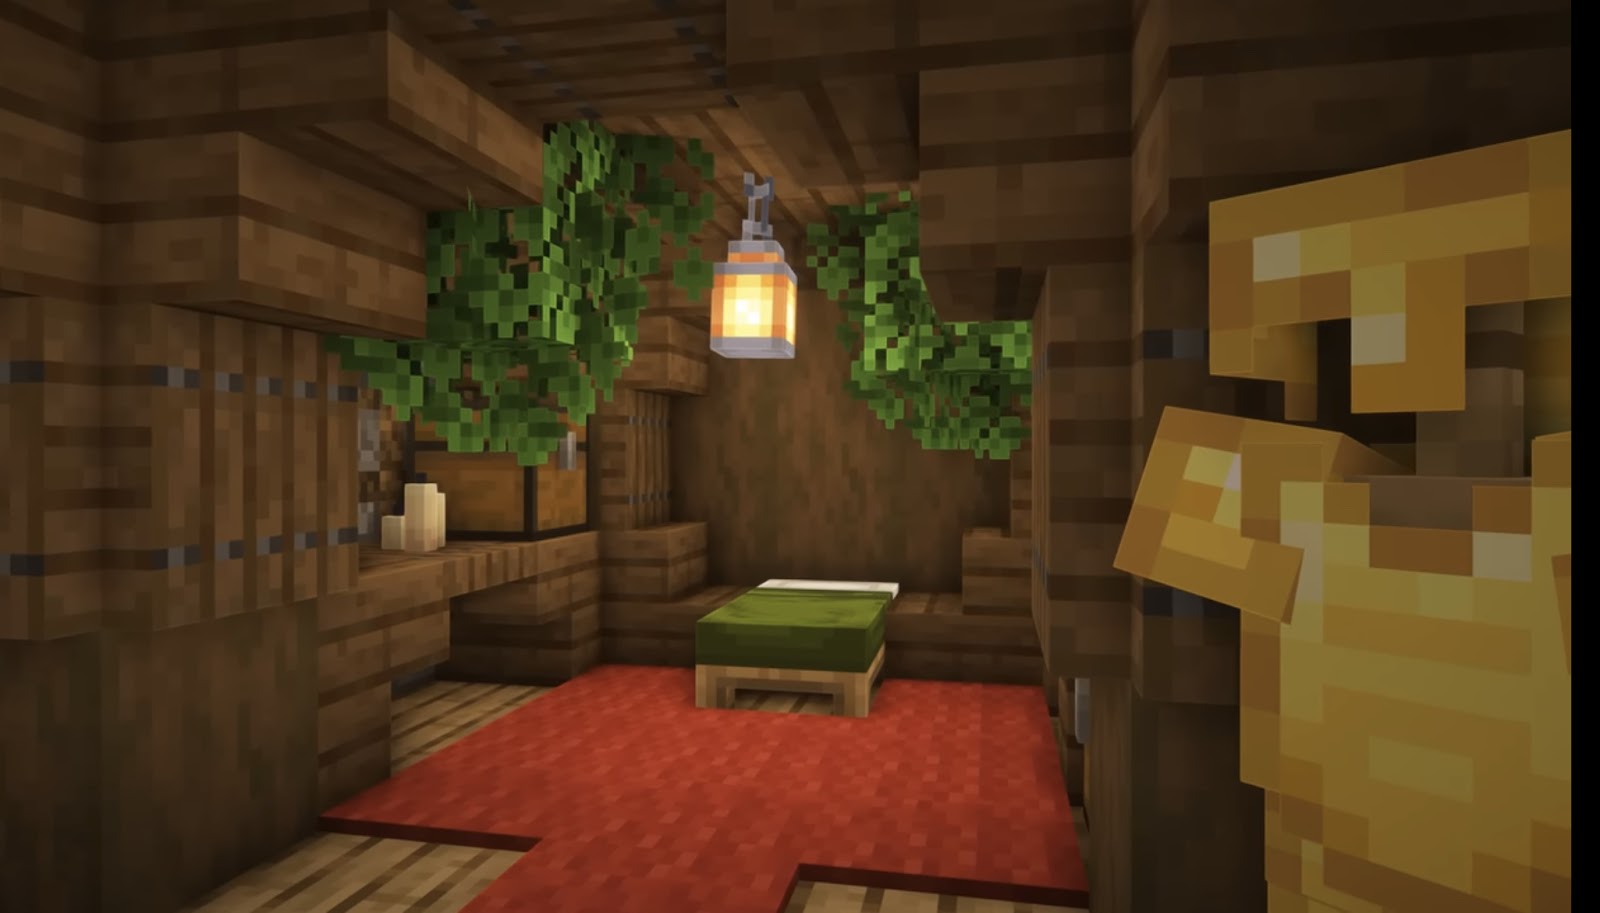
- Step 3: Crafting the Interior
It’s time to turn your underground space into a comfortable dwelling. Create rooms for living, cooking, and sleeping. Don’t forget to add cozy features like a fireplace and rustic furniture.
- Step 4: Let There Be Light
Minecraft days are meant to be enjoyed in natural light. Craft and install glass windows to let the sun’s rays illuminate your Hobbit Hole and fill it with warmth.
- Step 5: Adding the Finishing Touches
Now comes the fun part – decorating your Hobbit Hole! Use decorative blocks to add potted plants, colorful carpets, and charming details that make your hole feel like a true home.
Embracing the Hobbit Lifestyle
Congratulations! You’ve successfully built your own Hobbit Hole in Minecraft. Now it’s time to embrace the Hobbit lifestyle within your virtual abode. Cook delicious meals, tend to your garden, and enjoy the simple pleasures of underground living.
Remember, just like Bilbo Baggins, your Hobbit Hole is a reflection of your unique personality. Feel free to personalize and modify it as you see fit. Invite your friends to explore your creation, or embark on solo adventures in the heart of Middle-earth.
So, grab your pickaxe and get ready to embark on a journey to create the coziest Hobbit Hole in all of Minecraft. With a bit of creativity and a touch of magic, you’ll soon have a charming underground haven that you can proudly call your own. Happy building!
To wrap up
In conclusion, crafting a Hobbit Hole in Minecraft allows you to channel your inner Hobbit and create a whimsical dwelling that captures the essence of J.R.R. Tolkien’s enchanting world. By following these simple steps and infusing your unique style, you’ll have a one-of-a-kind underground haven that stands as a testament to your creativity and passion for the game. So, don your virtual cloak, light the fireplace, and enjoy the satisfaction of building your very own Hobbit Hole in Minecraft.